
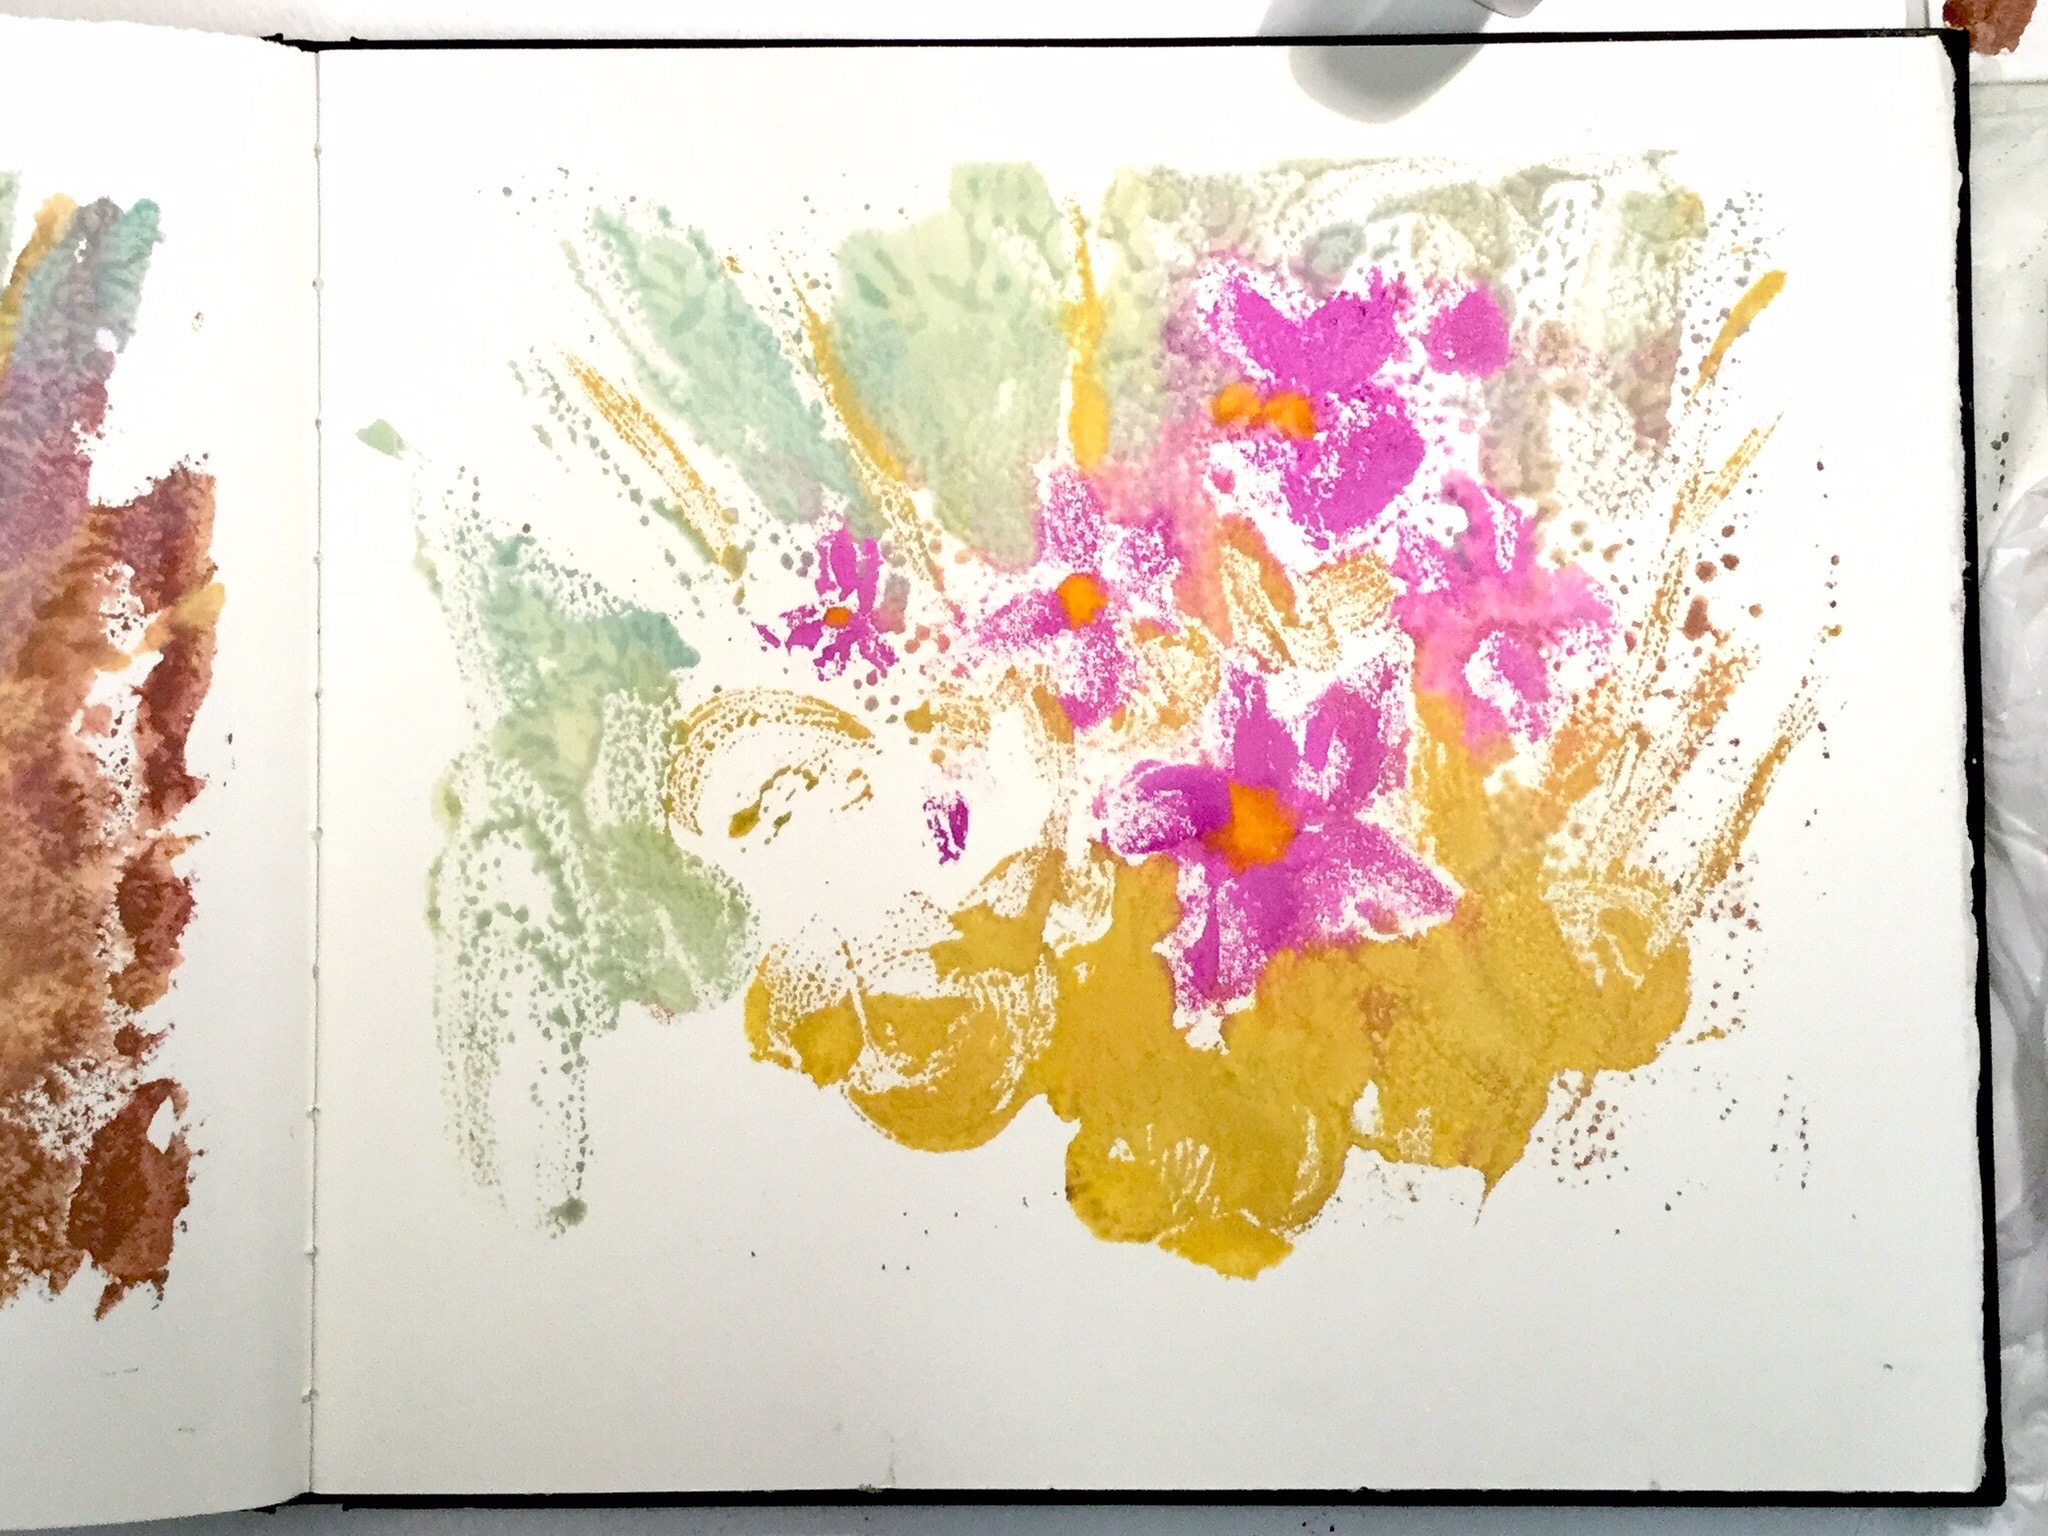
I took two prints off a “plate” ( a piece of acrylic sheet) that I had used before and not washed, not because I’m a lazy painter ( though that’s true too) but because I liked the image and wanted to use it again. Below is the original print
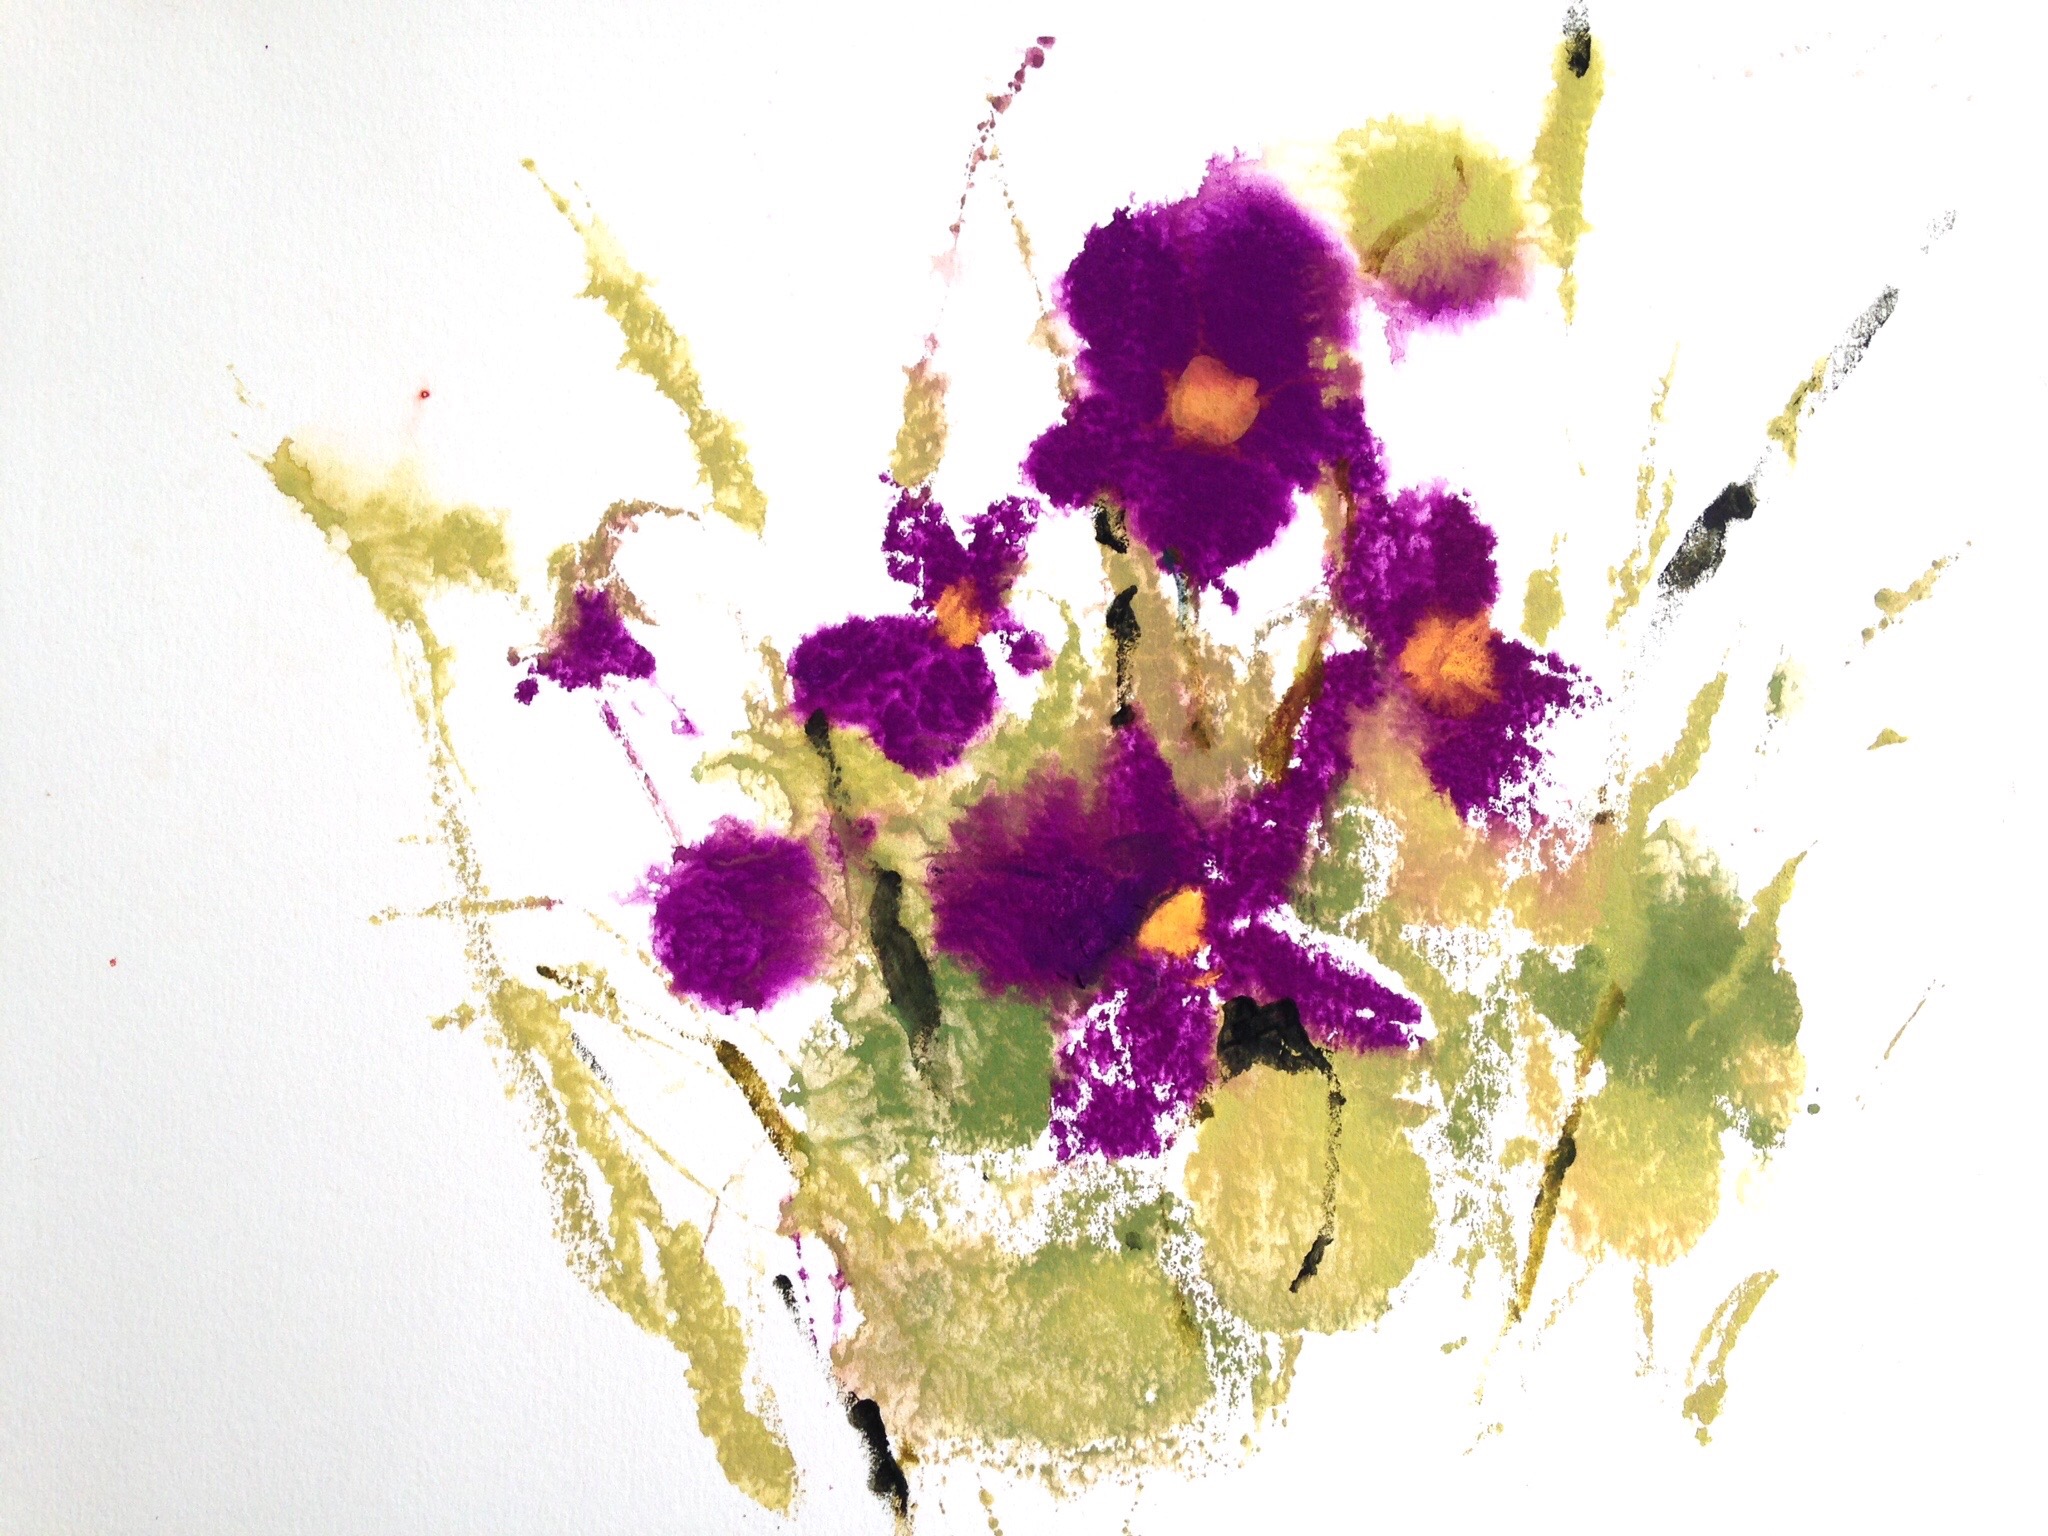
No two prints ever come out the same, and this second one proves the point, although I have added a background
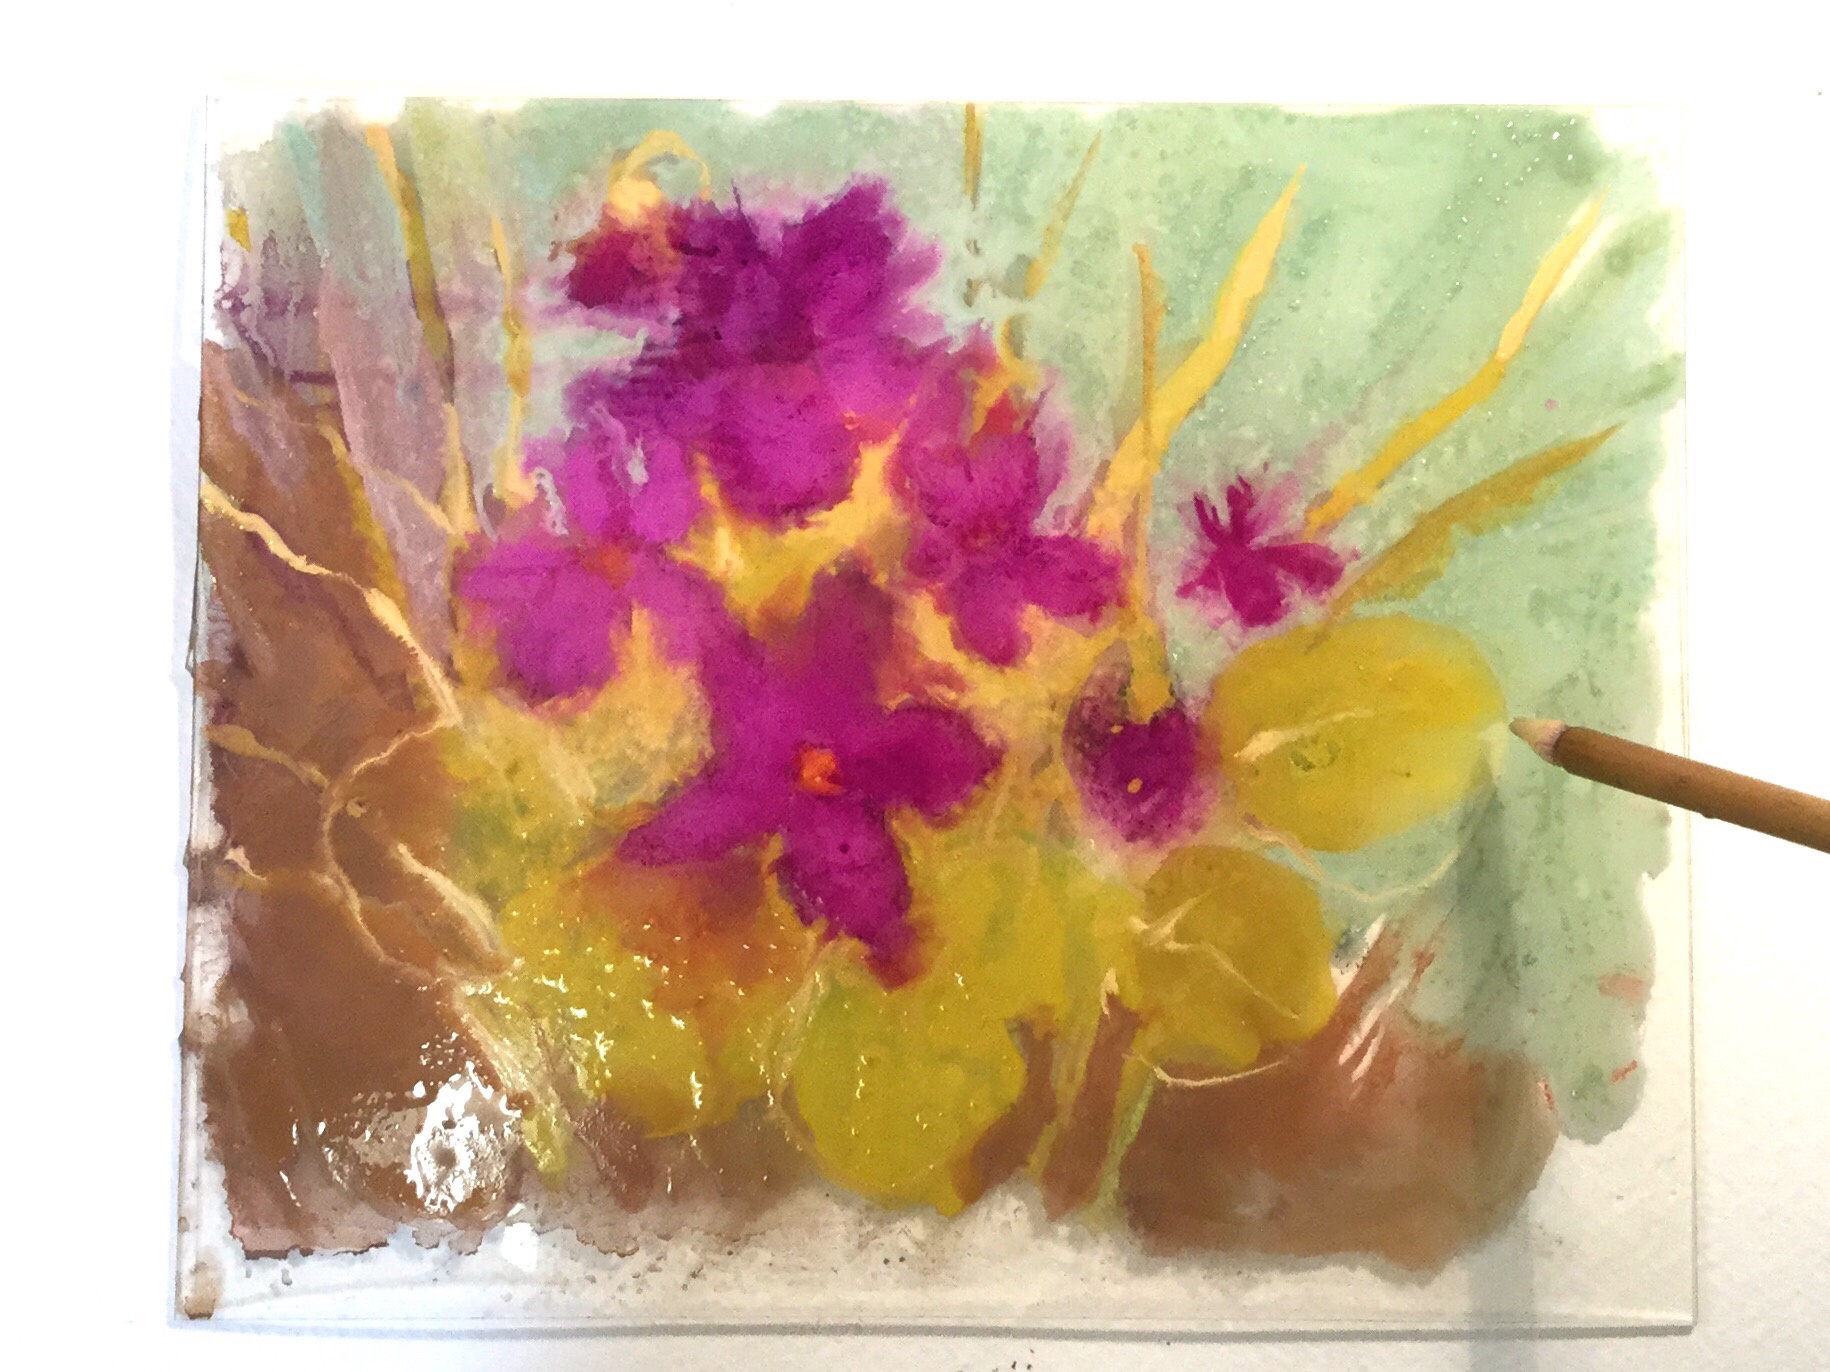
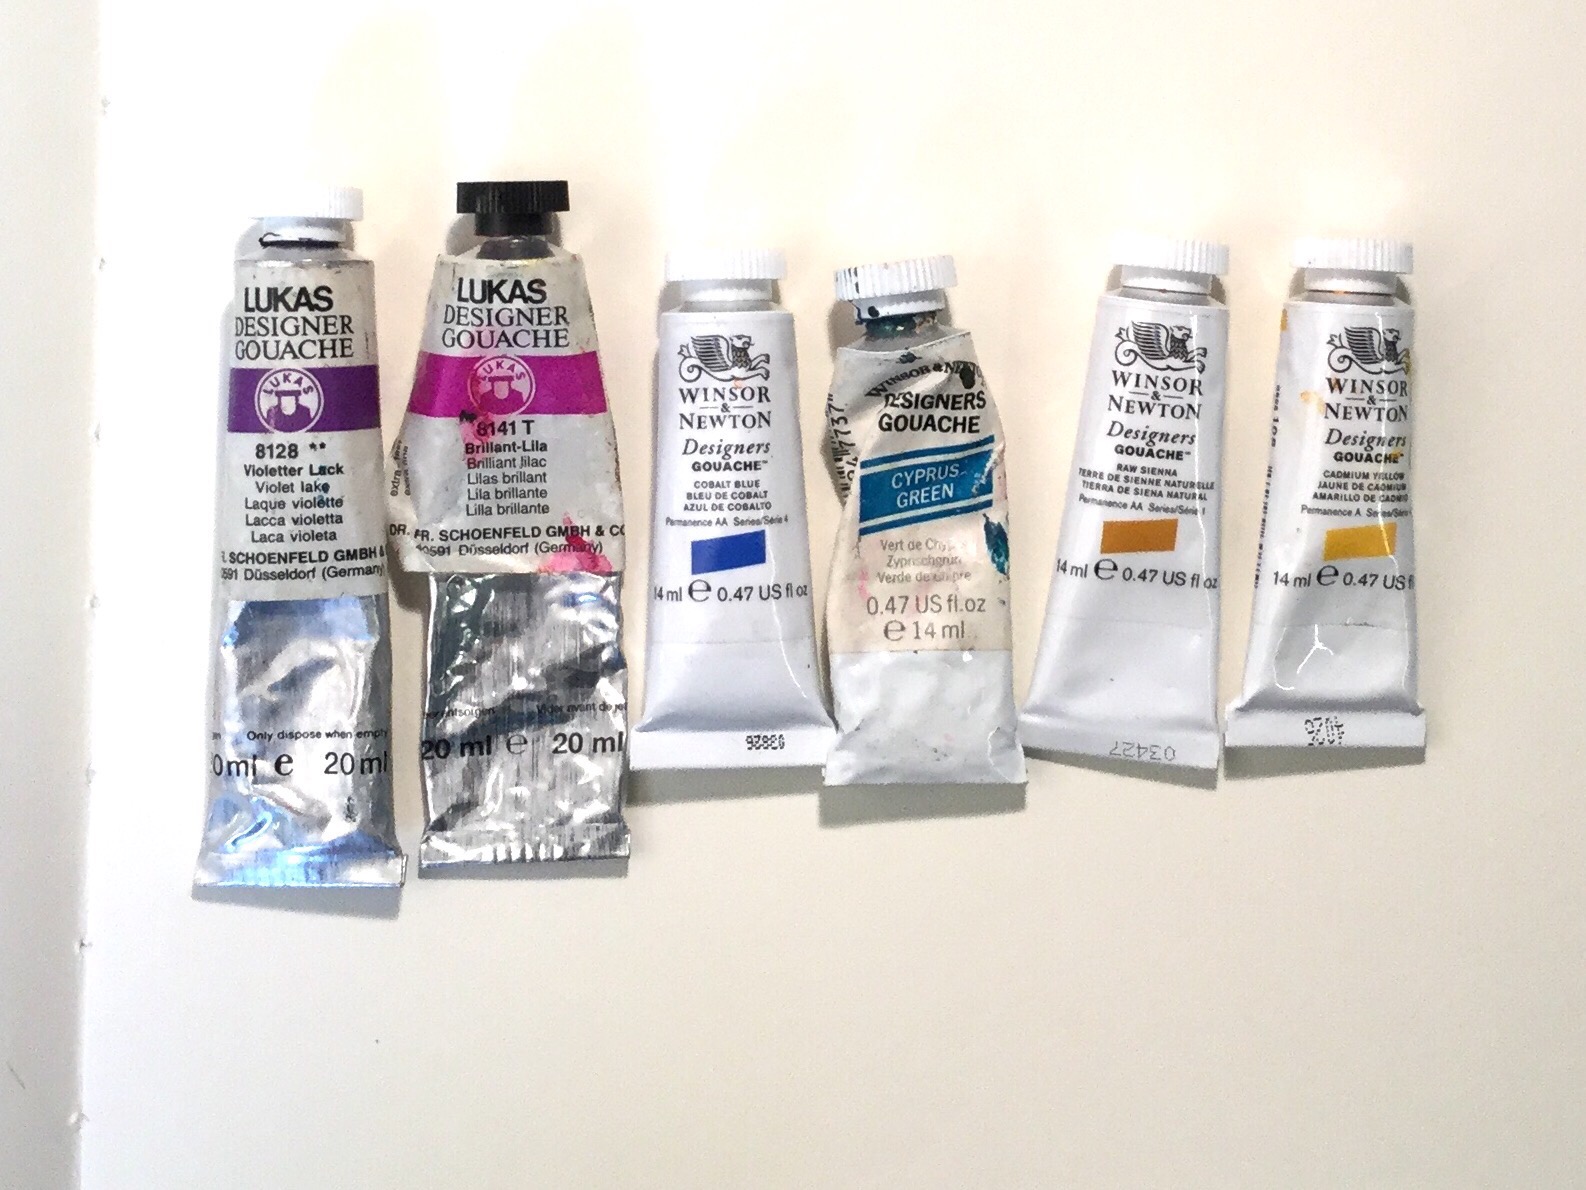
As explained in previous posts I’m using gouache mixed with water and a few drops of gum arabic so the paint adheres to the acrylic and doesn’t wander like mercury into bobbles and tiny puddles. I’ve started with the following colours: brilliant lilac, violet lake, cobalt blue, cyprus green, cadmium yellow, raw sienna and white. I’ve blocked in the existing shapes with the new colour mixes and added some detail on top of that; of course it’s only that last layer of paint that will print. What you see is what you get, the under layers are archaeology. Some of the earlier parts of this painting stage are going to dry by the time you have finished and there are a couple of choices: spraying the drier areas, or indeed the whole thing, or dampening your paper, and the results are radically different. As I’m working in a sketchbook and in a fairly confined space I’ve gone for the former.
Finished “plate” below
The plate is then reversed and pressed down onto the paper, or, the paper is laid on the plate and pressure applied. With a sketchbook the former is much easier (the result can be seen in the second image of this blog post.)
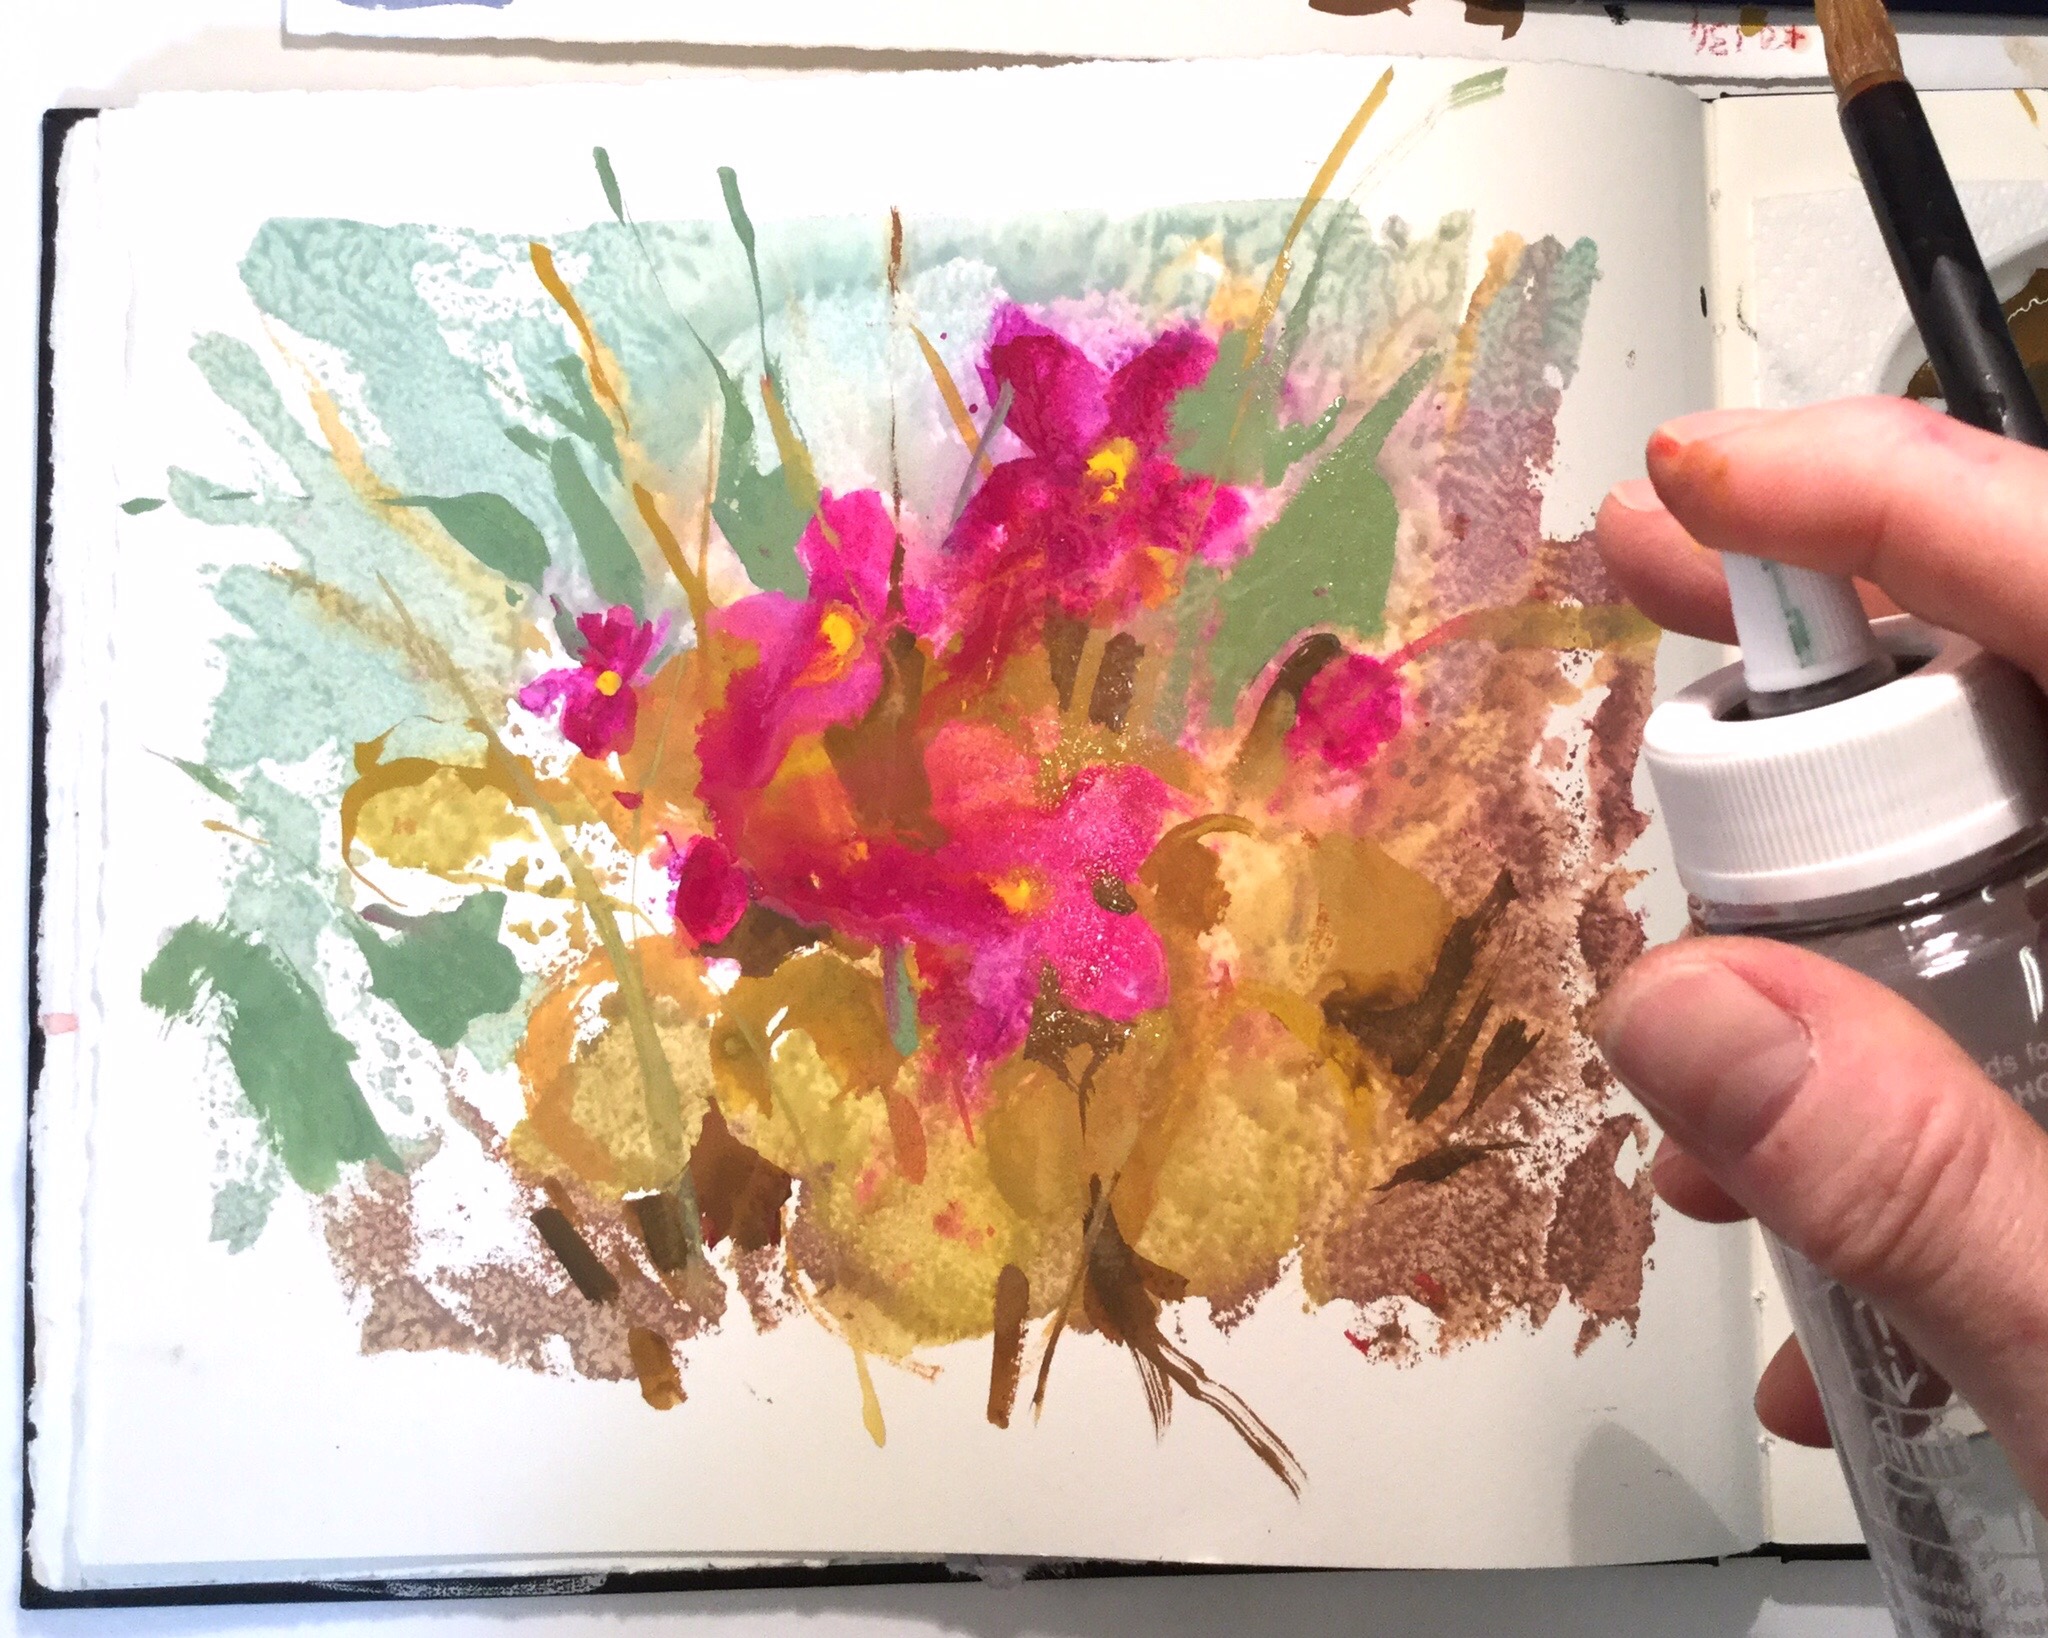
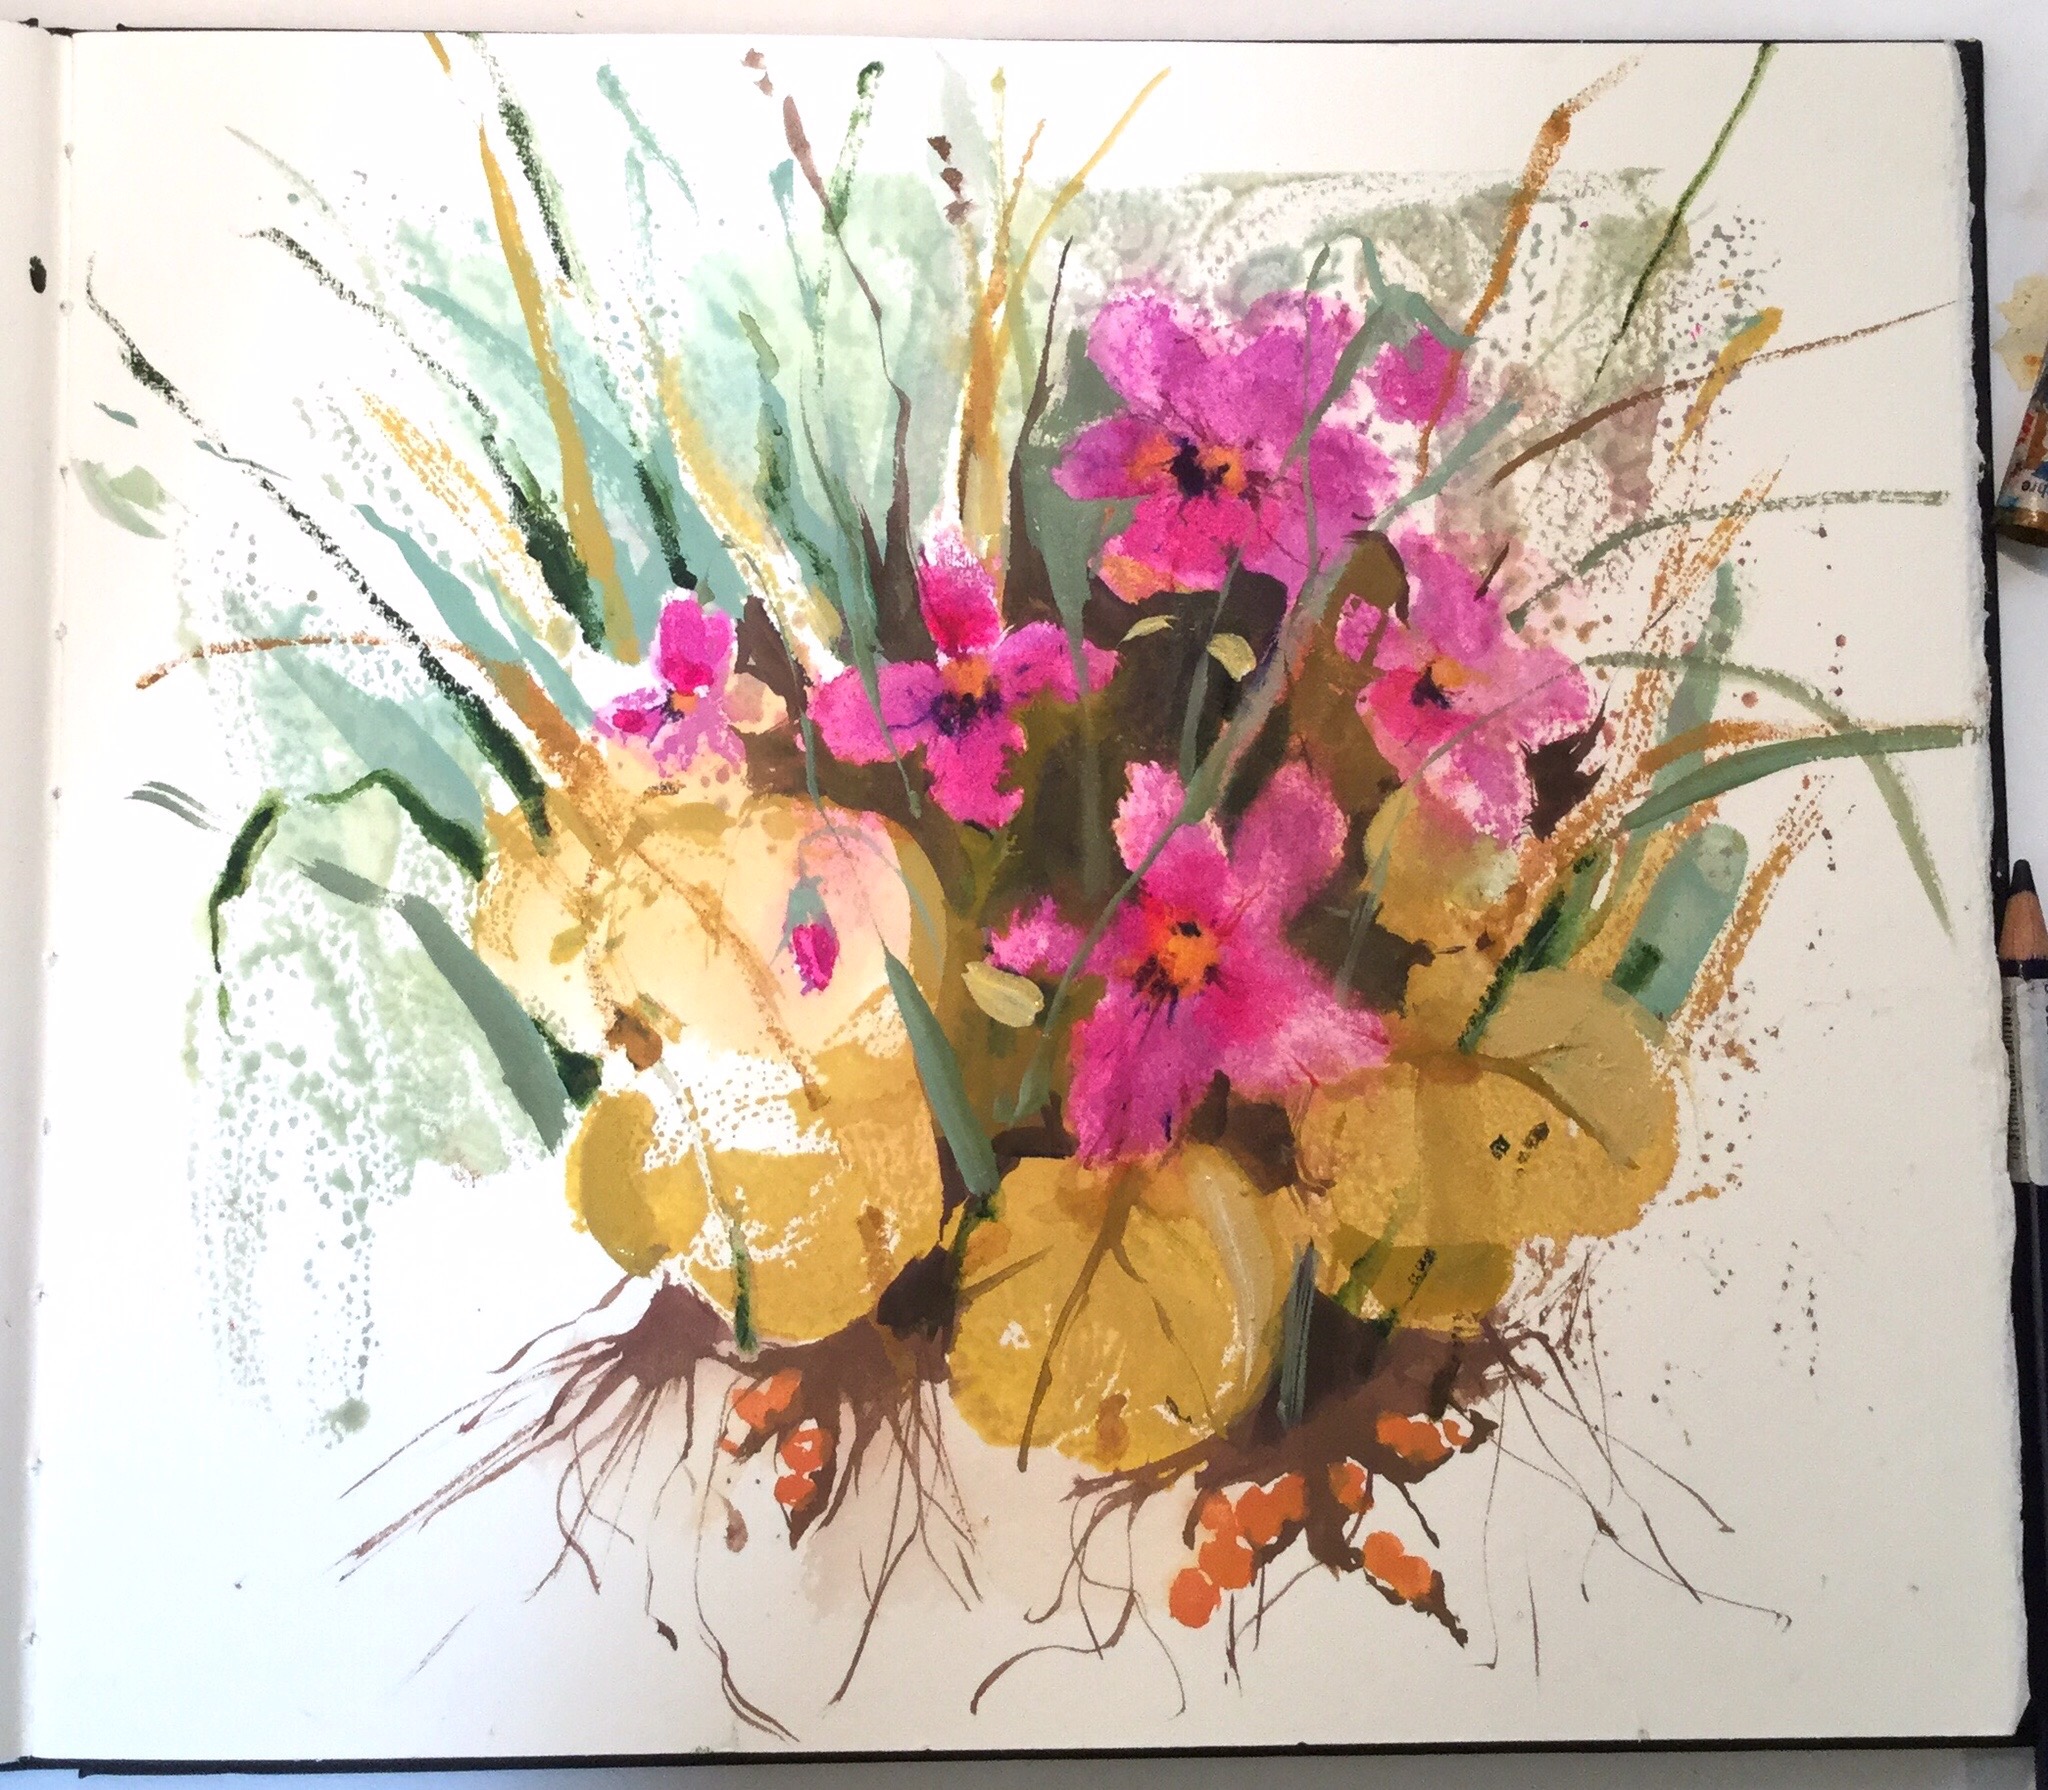
I then work back into the image with watercolour and gouache, and spray, to loosen hard edges, as you can see below. I use a pressure sprayer, and the best I’ve found is called a Fun Pump (no jokes please) and the only place I can find it is in the Graphics Store in Covent Garden.
The final stage is adding more darks to the bottom right and more leaves etc

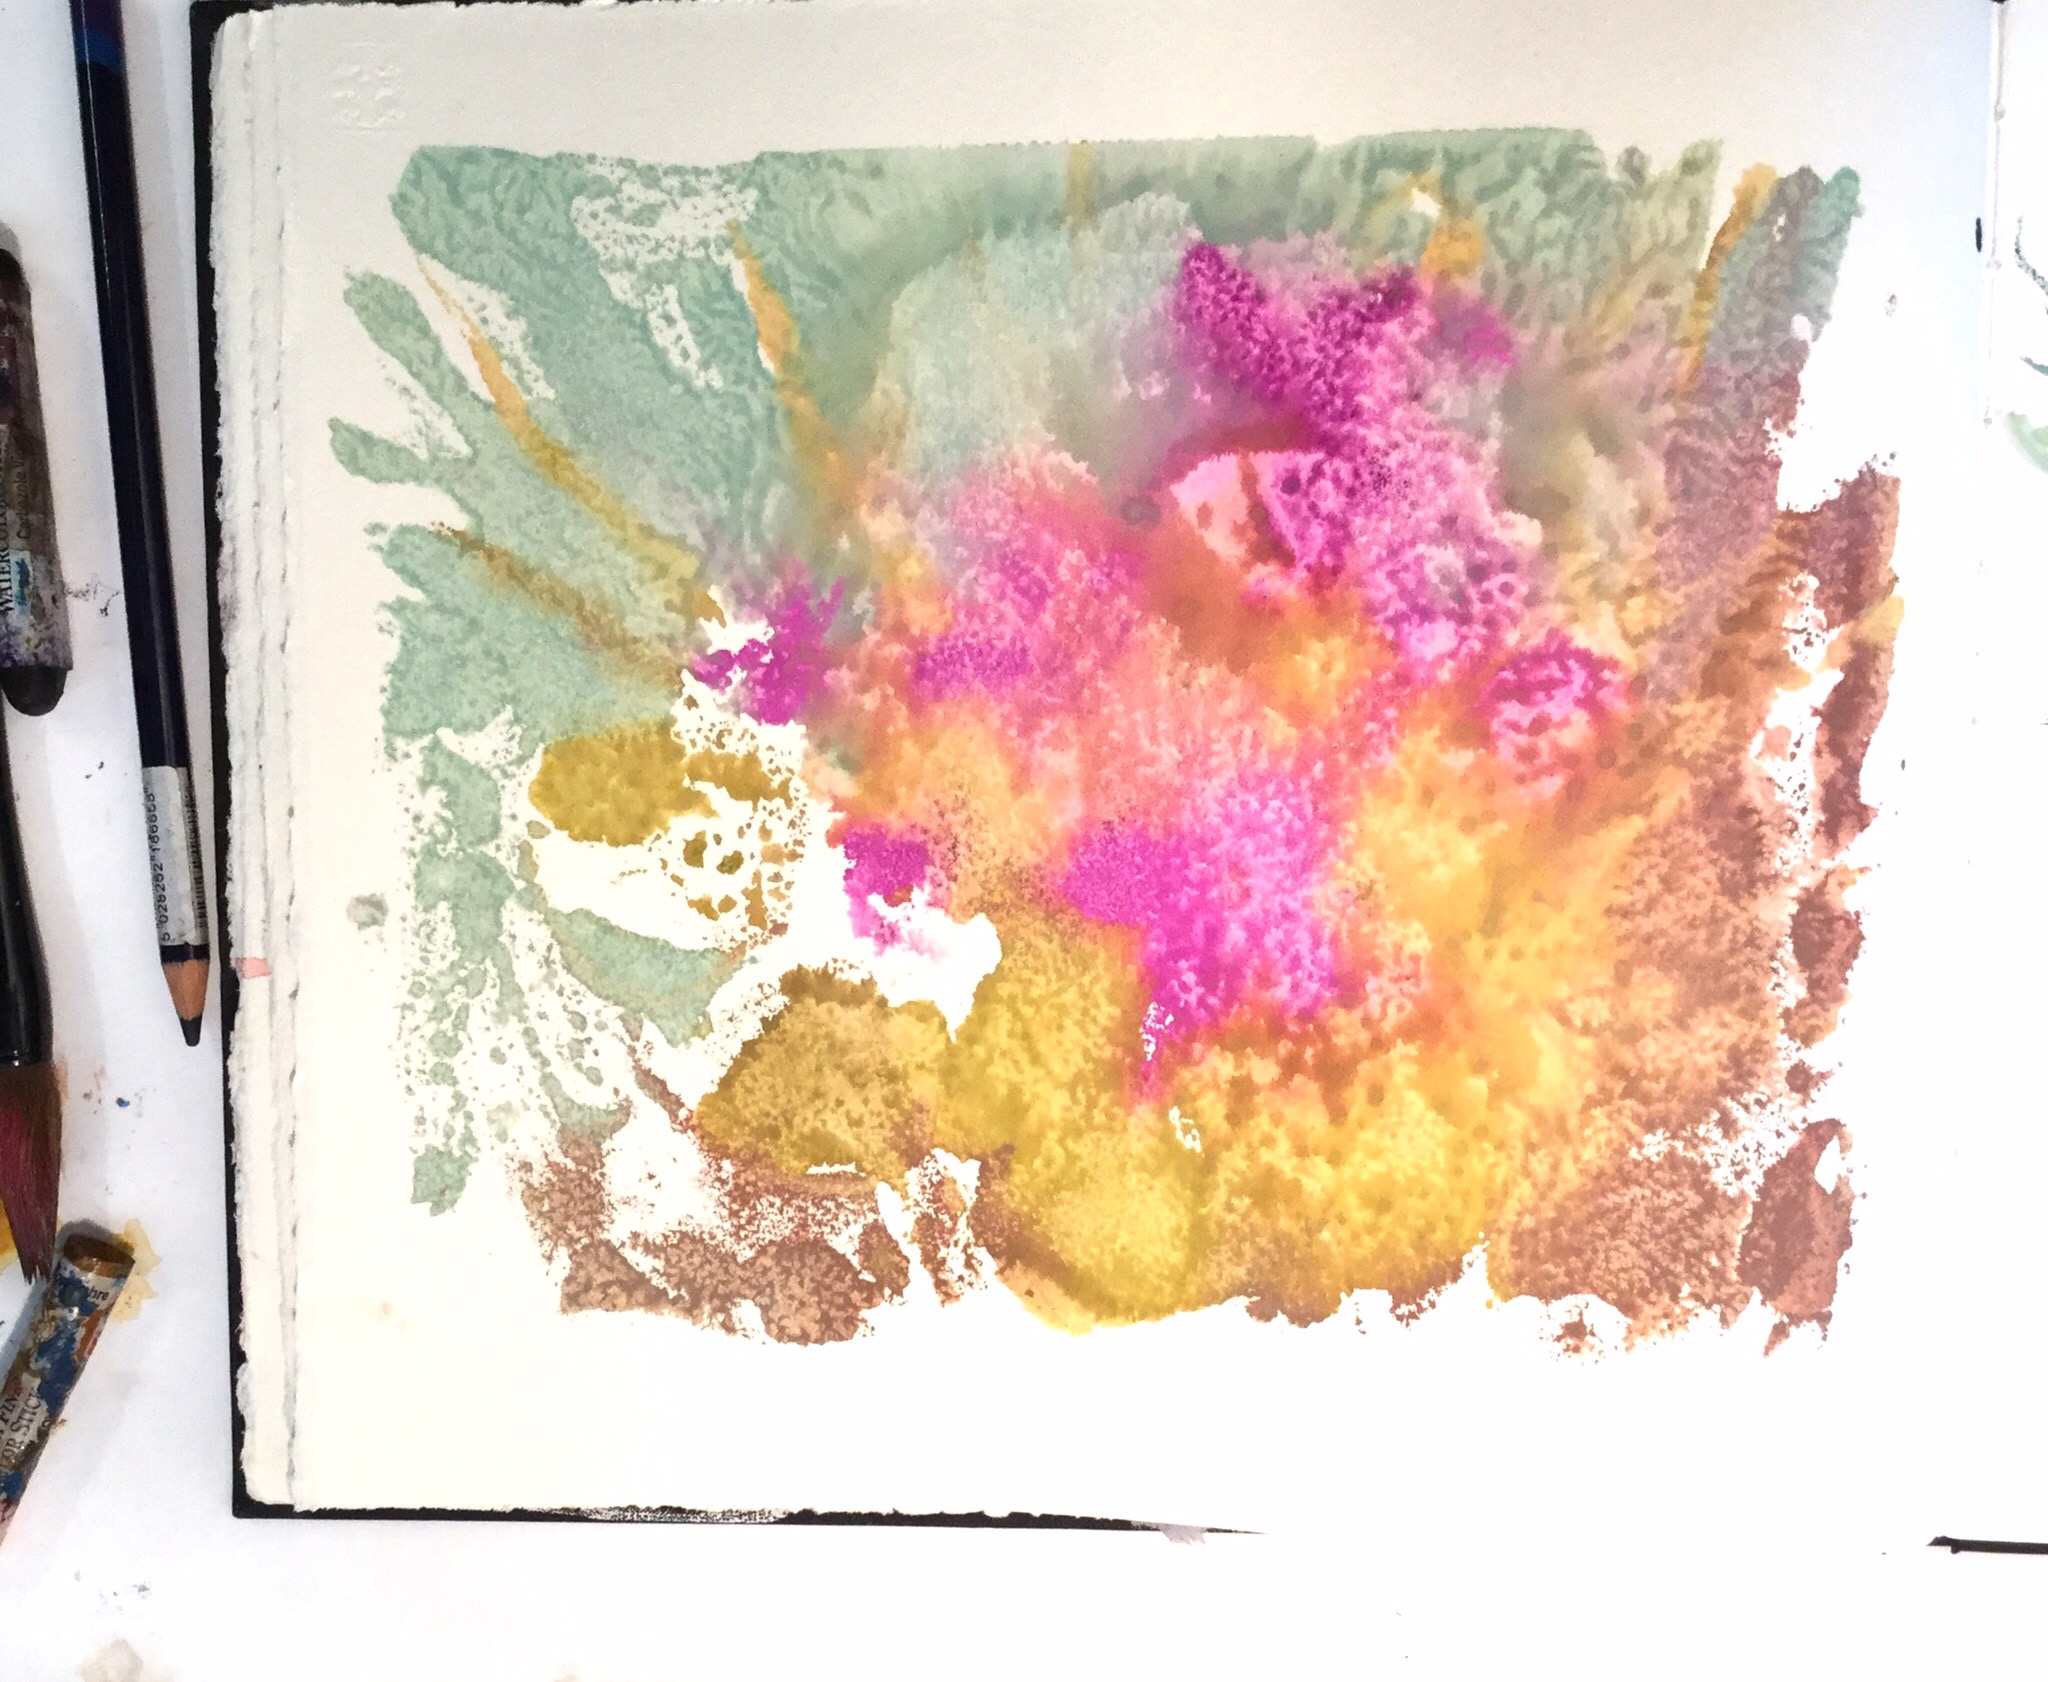
So, for the next print I re-painted only the flowers and leaves on the plate, and left out the background, result below
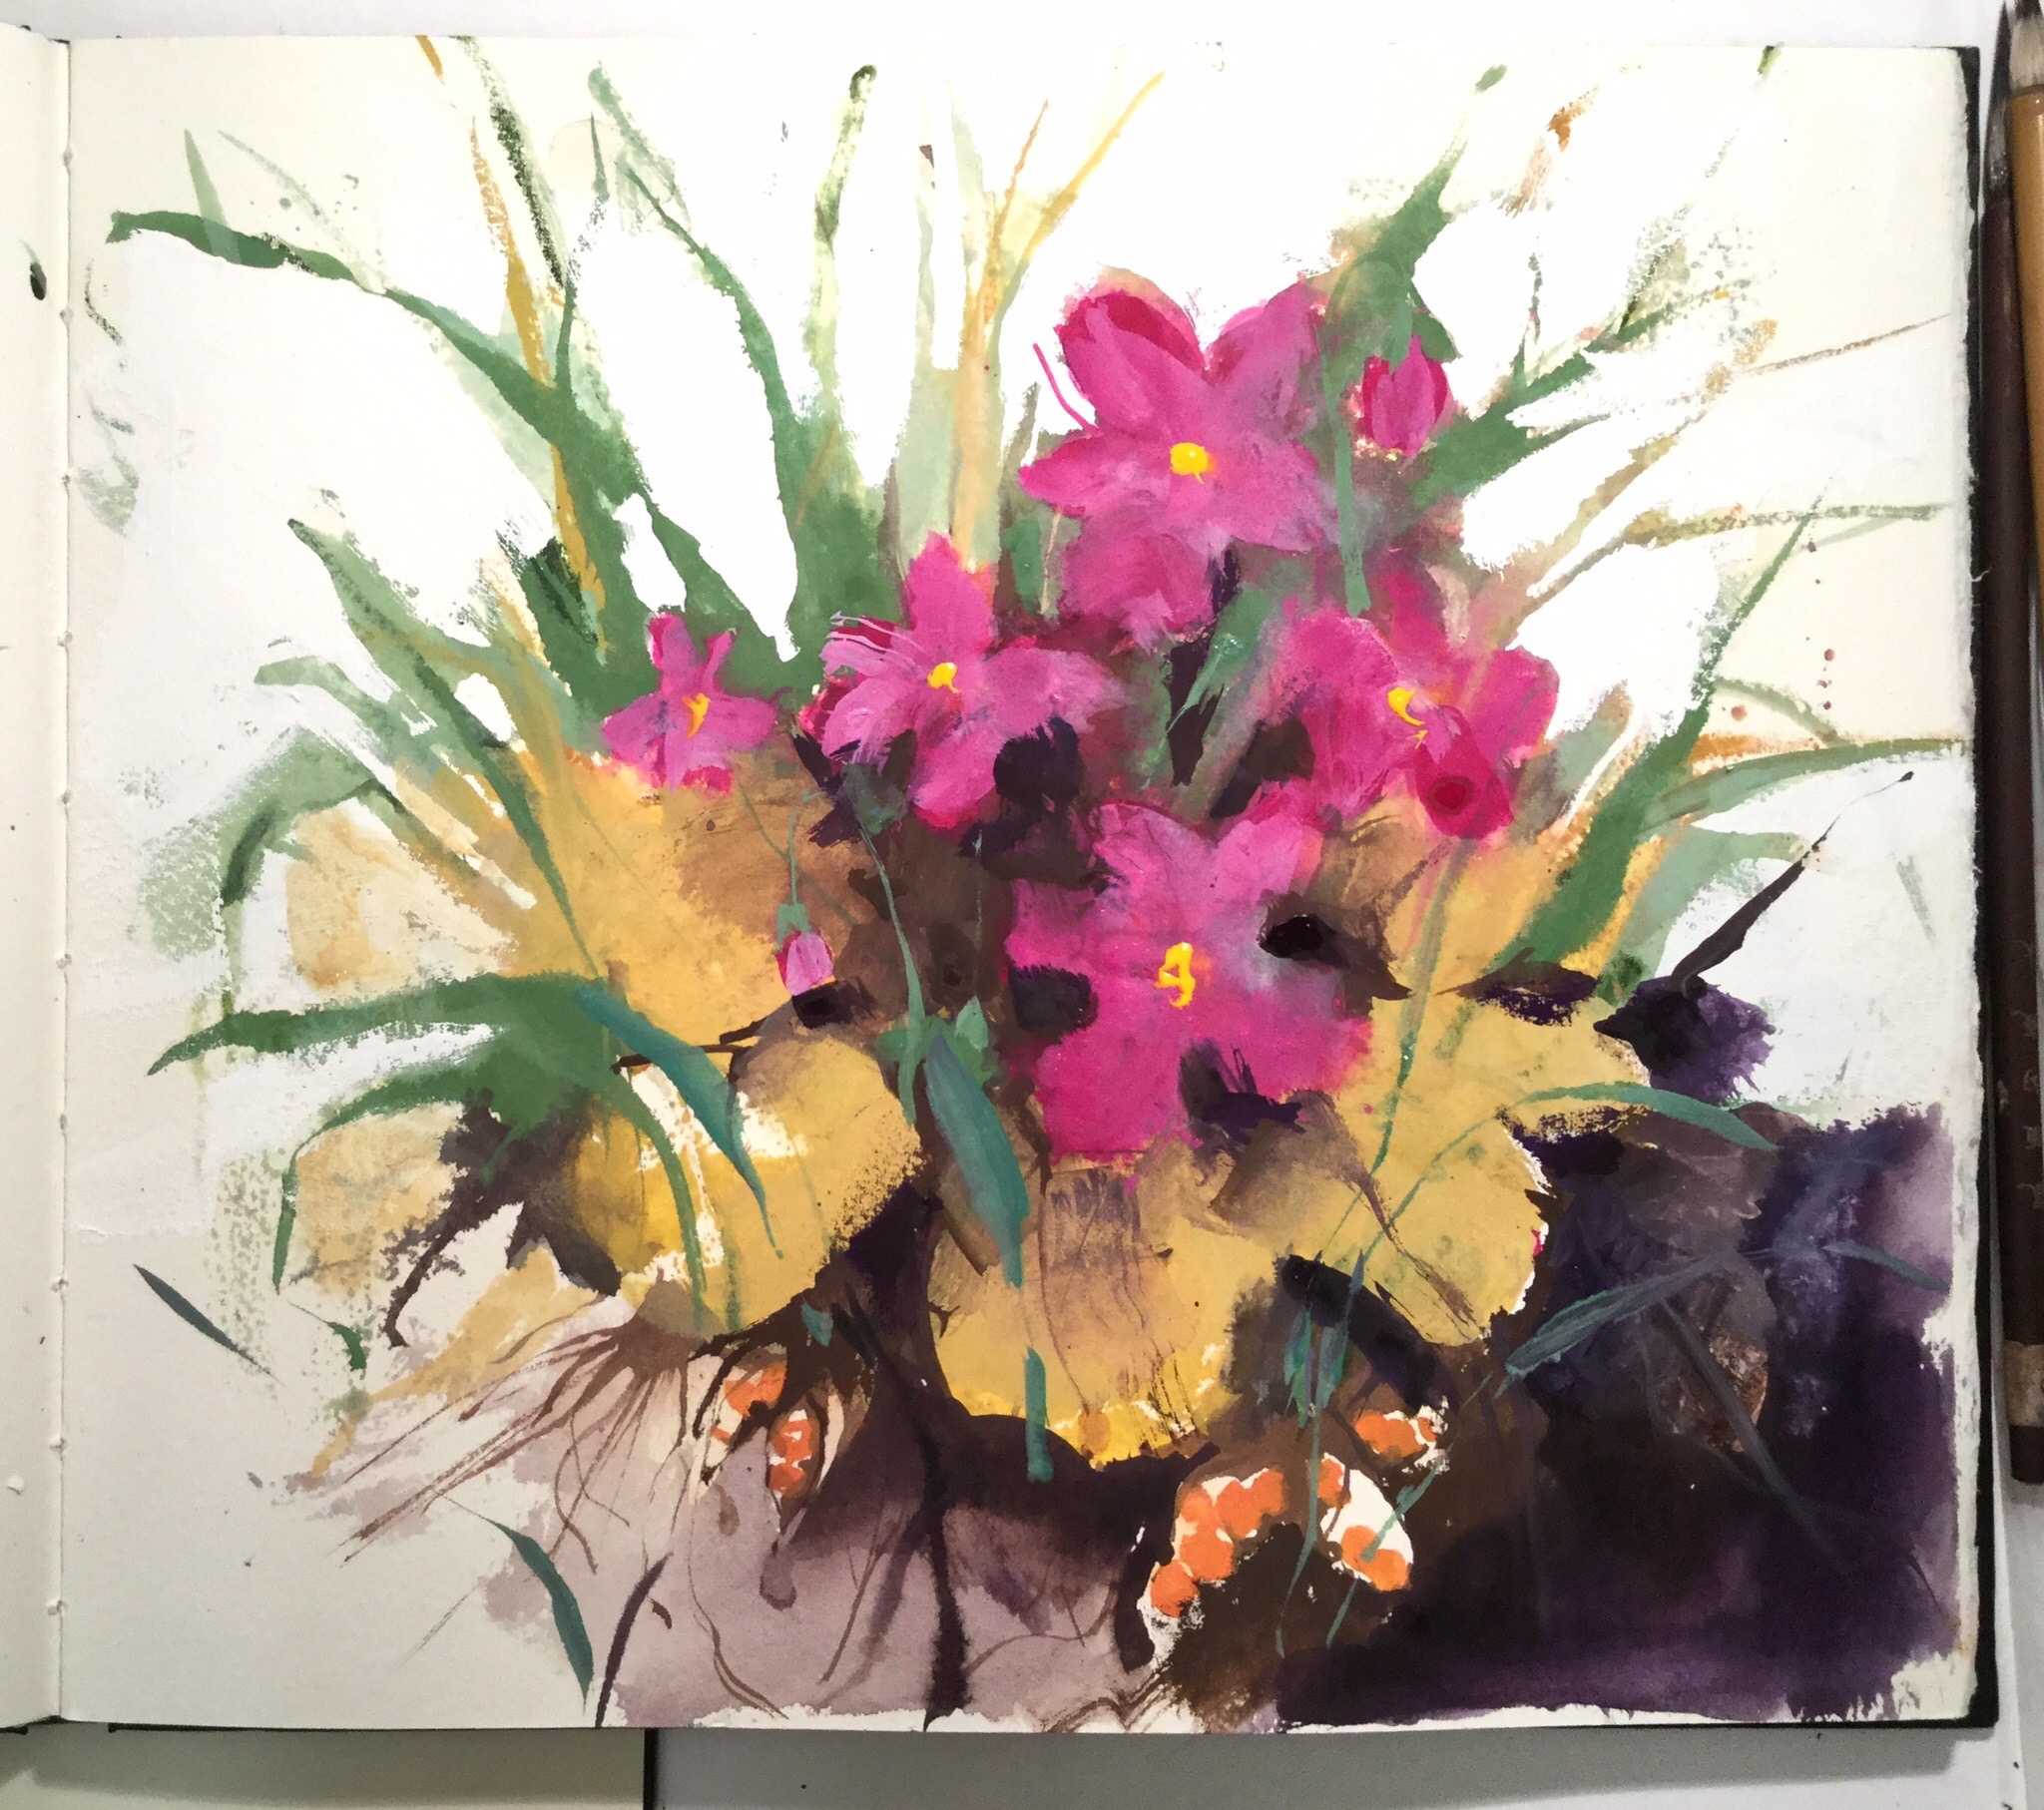
And then proceeded to make a mess of it, below. It is too fiddly, shapes aren’t working and the flowers don’t look too organic.
So I carried on instead of ripping it out, and ripping it up, until I got to this stage, blocking out areas with white gouache, lightening the pinks, and adding deeper and more darks; which I was still not happy with, but it does feel like an improvement, and gives me an idea of where to take it next, or what to leave out next time!
The moral of this blog post is, I think, that sometimes less work can be more (first image) but it’s also worth battling on and seeing where it gets you. (and that, sometimes, the plate beats all!)
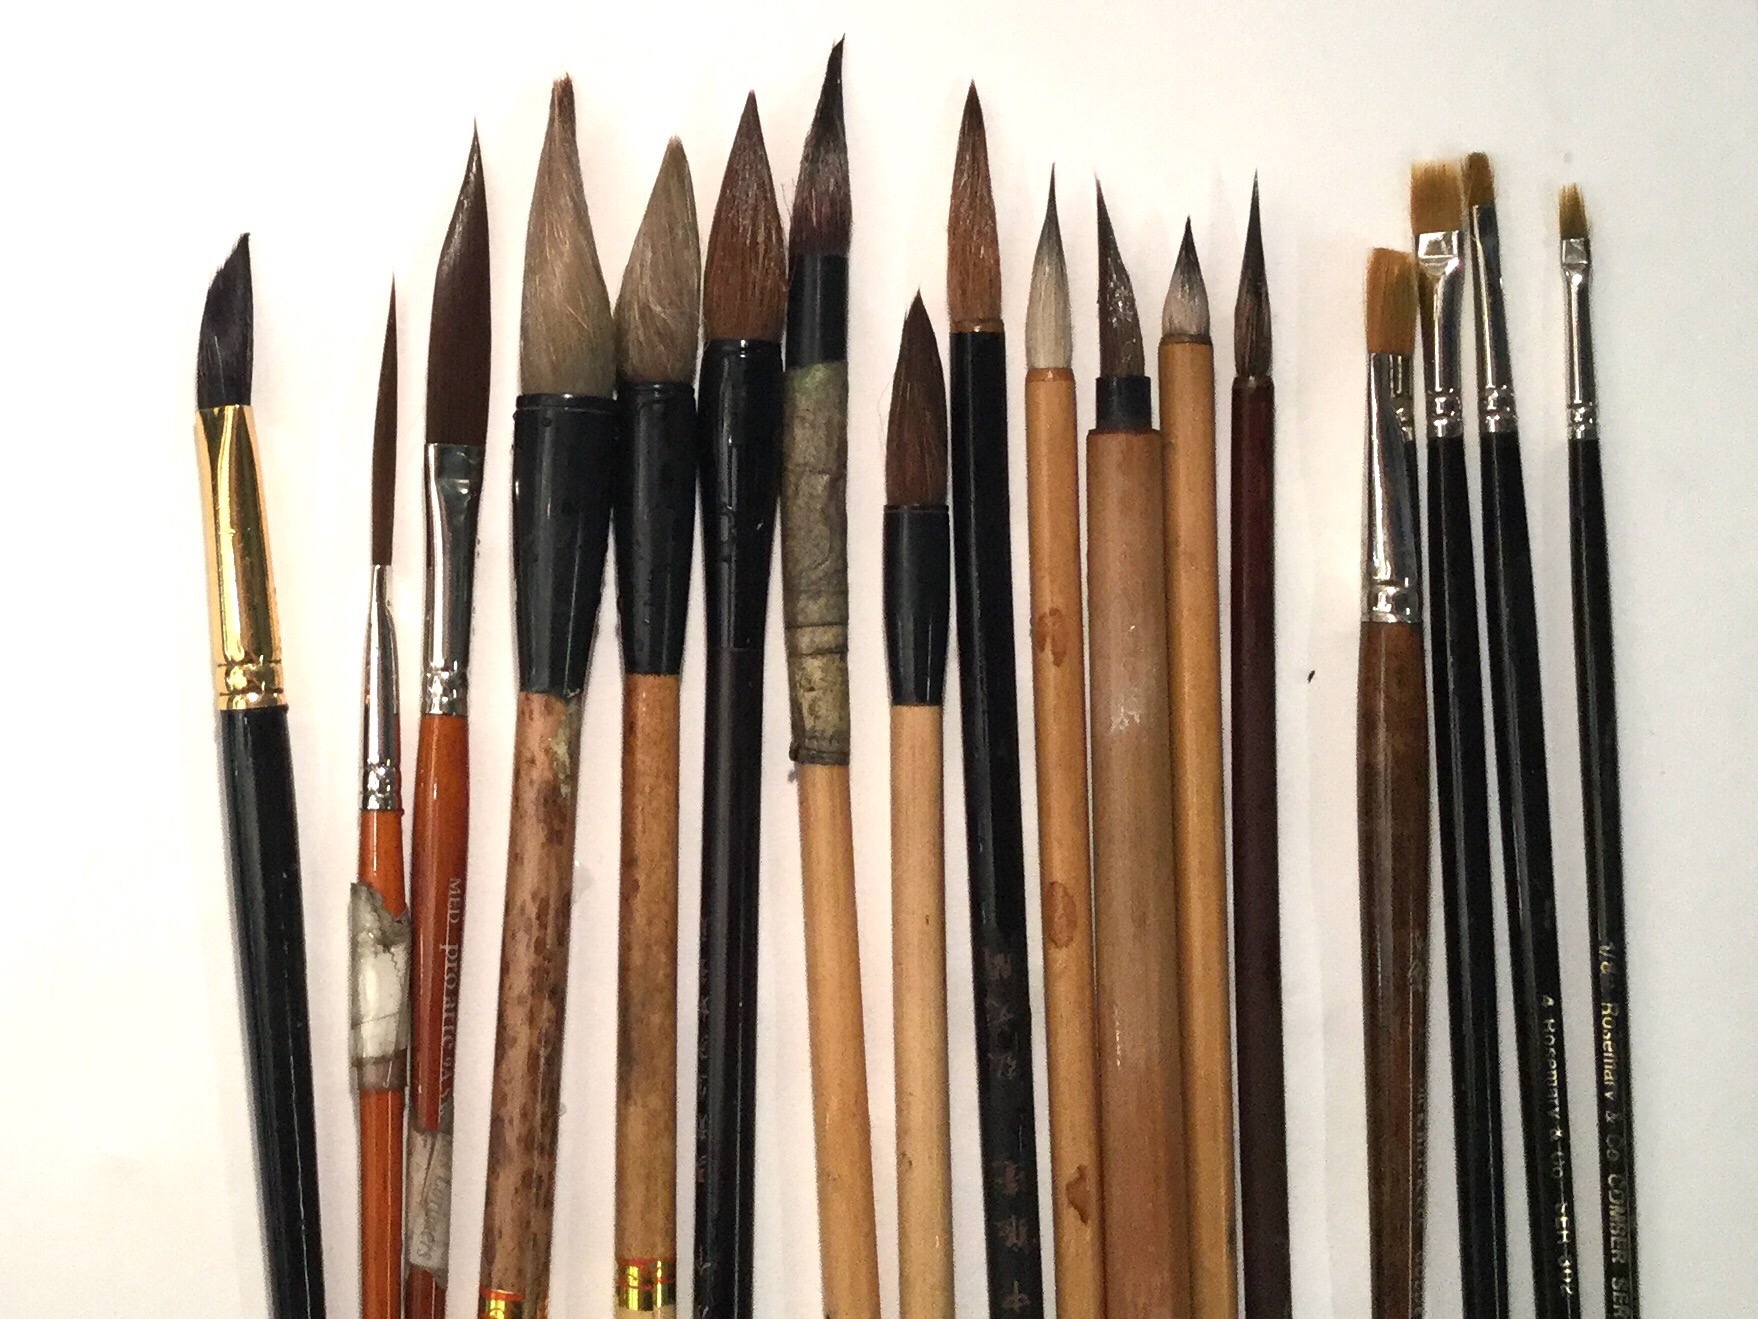
Brushes. Mostly Chinese brushes these days, a few flats and a couple of swords
